はじめに
前回のガイドでは、Windows ServerにNFS Serverをインストールして、接続できる状態の共有を作成しました。 このガイドでは、その共有を利用してみます。
Step 1: Server Manager
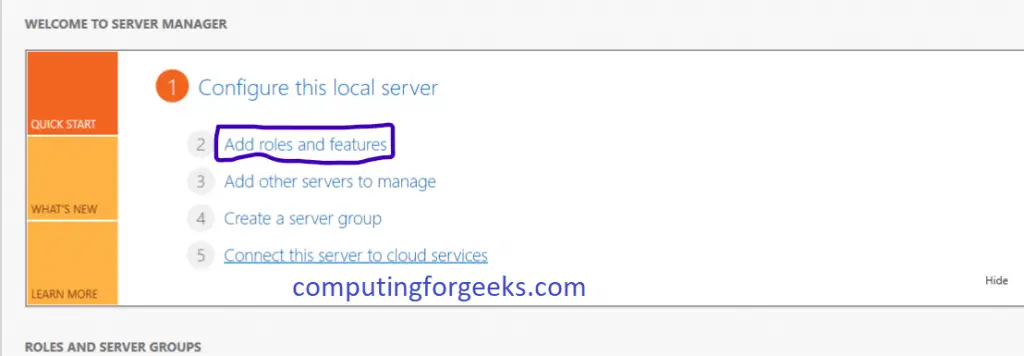
Server Managerを開き、「Add Roles and Features」をクリックして、ウィザードの「Next」をクリックします。
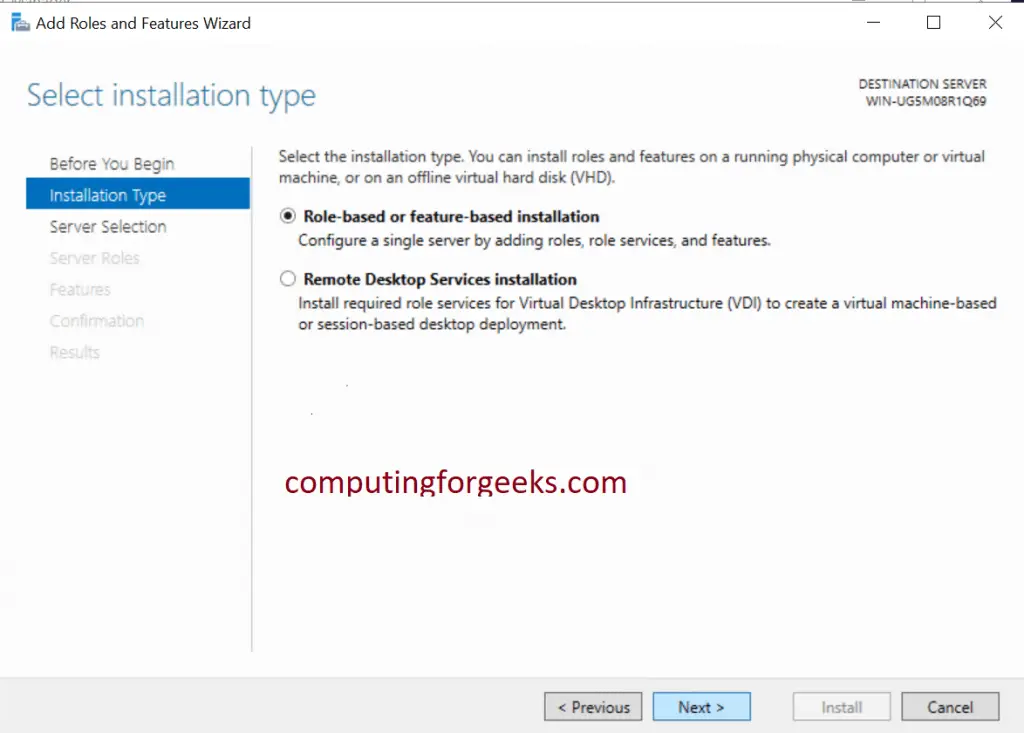
ステップ2: Role-based
「Select Installation type page」で「Role-based or feature-based-installation」を選択し、「Next」をクリックします
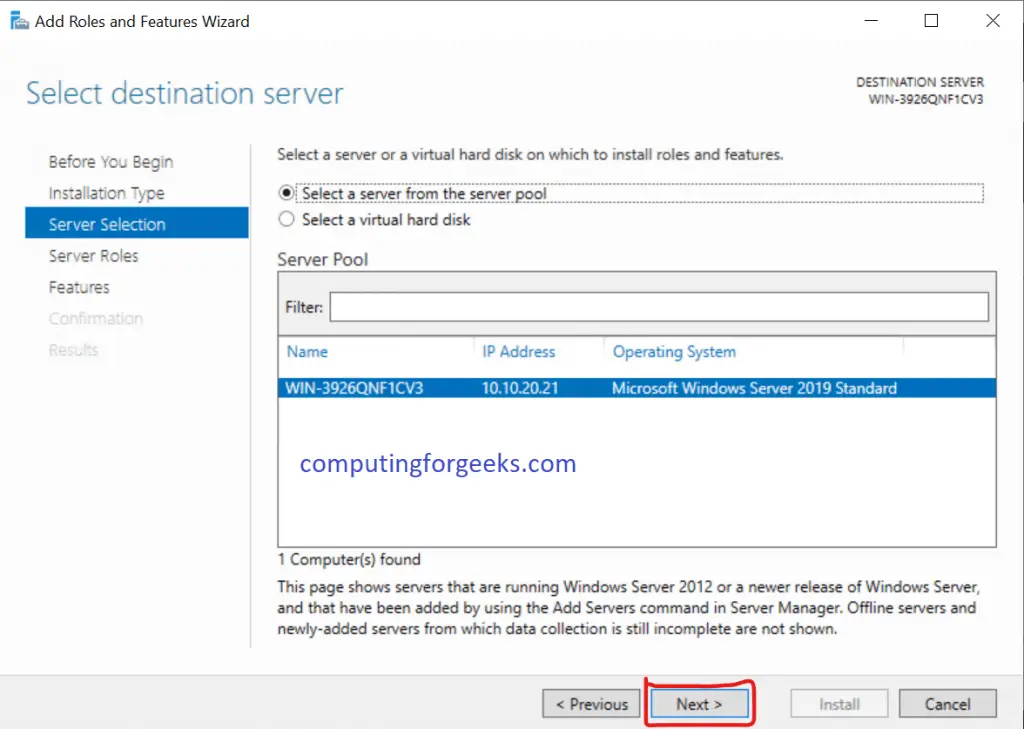
Step 3: サーバーの選択
NFSをインストールするサーバーを選択し、「次へ」をクリックします。
Step 4: Select Server Roles
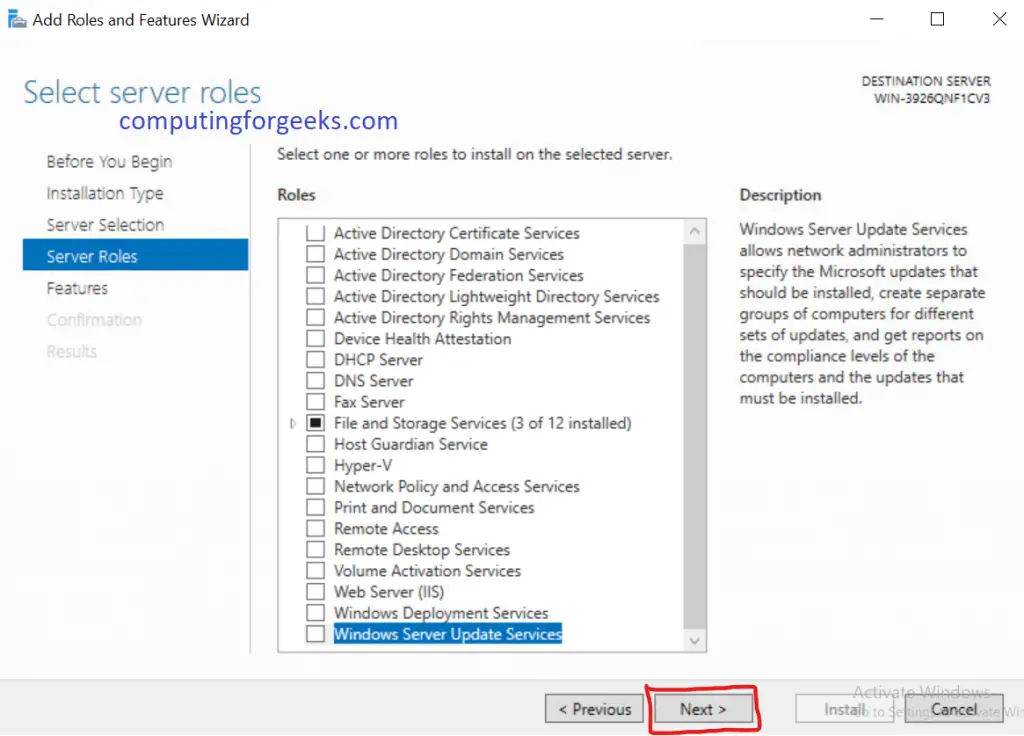
この「サーバーの役割を選択」の部分で「次へ」をクリックします。
Step 5: Features
この「Select features」の部分で、「Client for NFS」にチェックを入れて、「Next」をクリックします。

Step 6: Confirm and Install
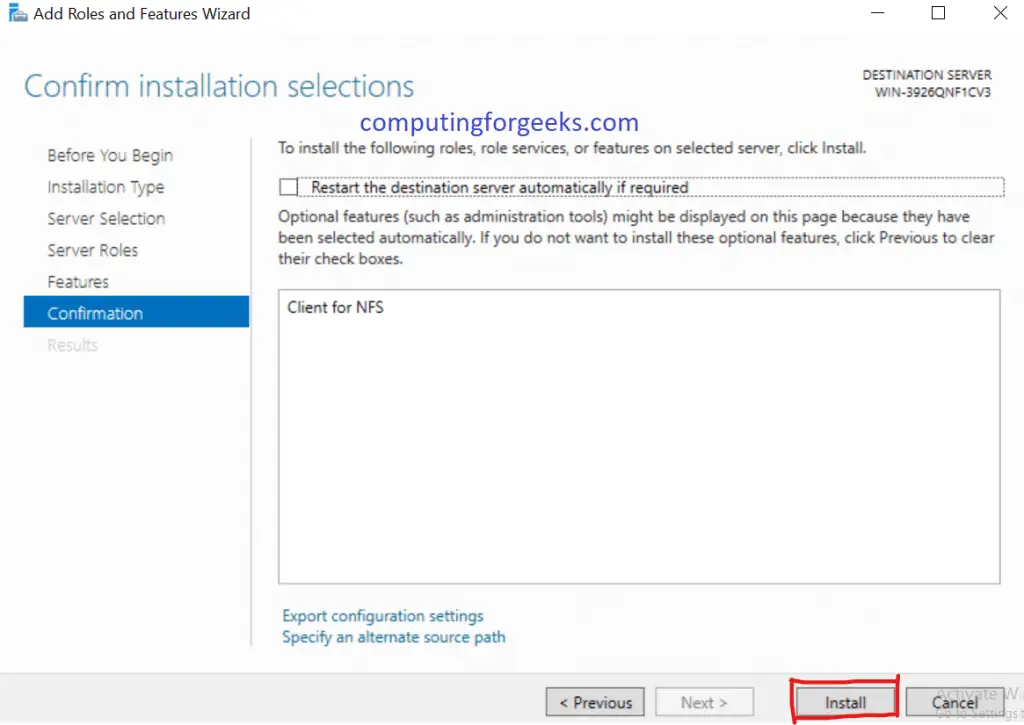
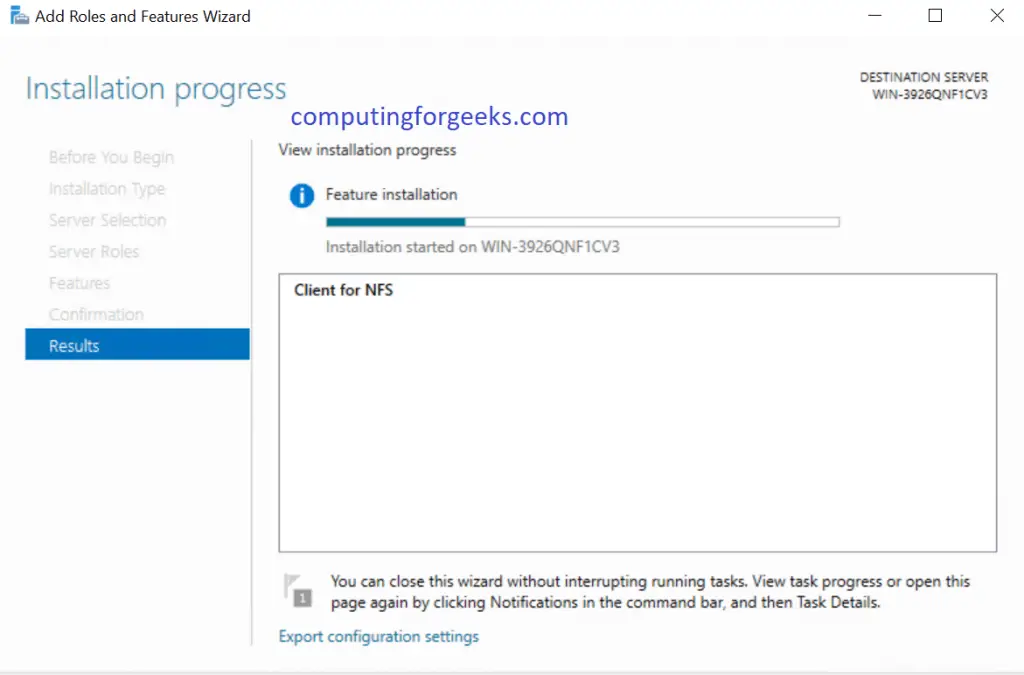
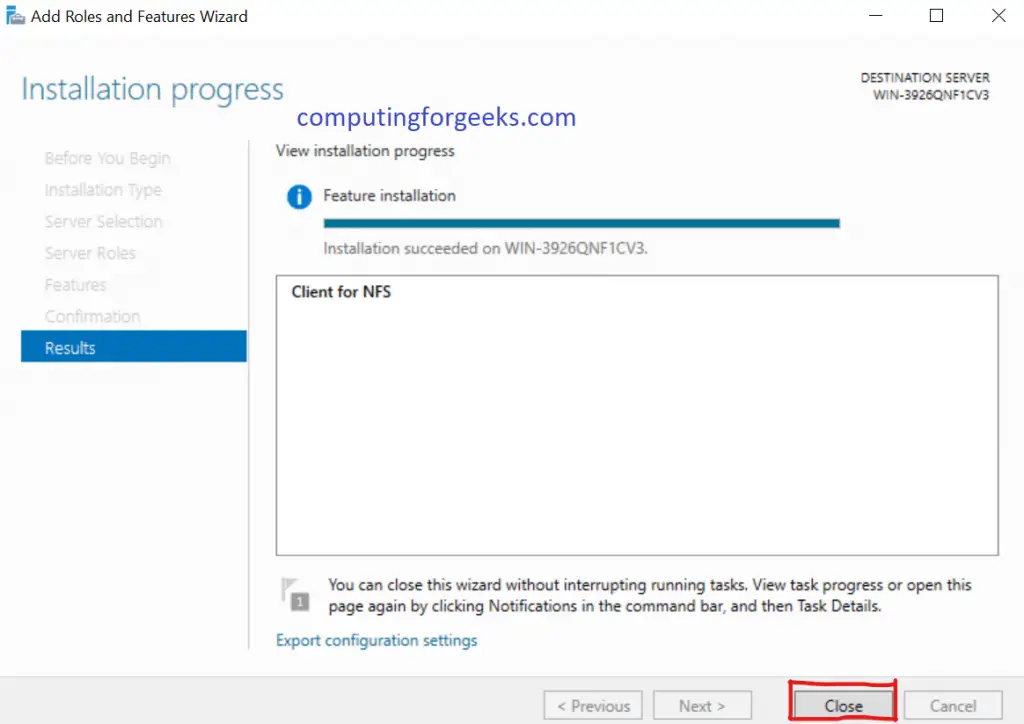
インストールの選択内容を確認し、「Install」をクリックします。 インストールが完了したら、「閉じる」をクリックして、NFSクライアントのインストールプロセスを終了します。
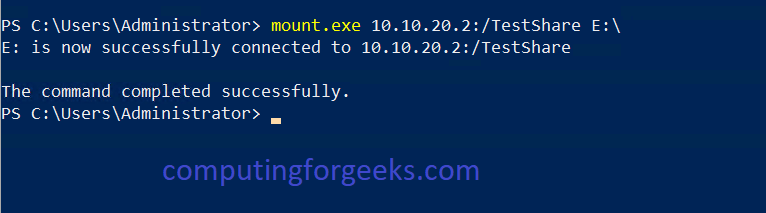
ステップ7: umount.exeを使ってNFSサーバーのシェアに接続します。exe
PowershellをAdministrator権限で開き、以下のコマンドを実行します。 共有にラベルを付けるドライブが、クライアント上で既に使用されていないことを確認します。 10.10.20.2 は NFS サーバーの IP、/TestShare は共有に付けた名前、E:\ はステップ 8 で確認した NFS クライアント上の共有のラベルであることを覚えておいてください。
Step 8: File Managerで共有を確認する
File Explorerを開き、共有のマウントが成功したかどうかを確認します。 親ディレクトリに反映されていることを確認しながら、ファイルやディレクトリを追加して、共有を操作してみてください。

Conclusion
これで、NFS サーバーとクライアントの結合に成功しました。 最後までお読みいただき、ありがとうございました。
以下のガイドをクリックしてお楽しみください。
Windows Server 2019にActive Directory Domain Servicesをインストールする方法
Easy Way To Install Windows Terminal on Windows 10 / Server 2019
How To Install SSL Certificate on Windows IIS Server
How To Open a port in Windows Server Firewall
Install Terraform on Windows 10 / Windows Server 2019
Best secure Backup Application for Linux, macOS & Windows
WSLを使ってWindows Server 2019上でLinuxを実行する方法